
Indianapolis Help Desk Tip Experts: How to Make a Desktop Folder
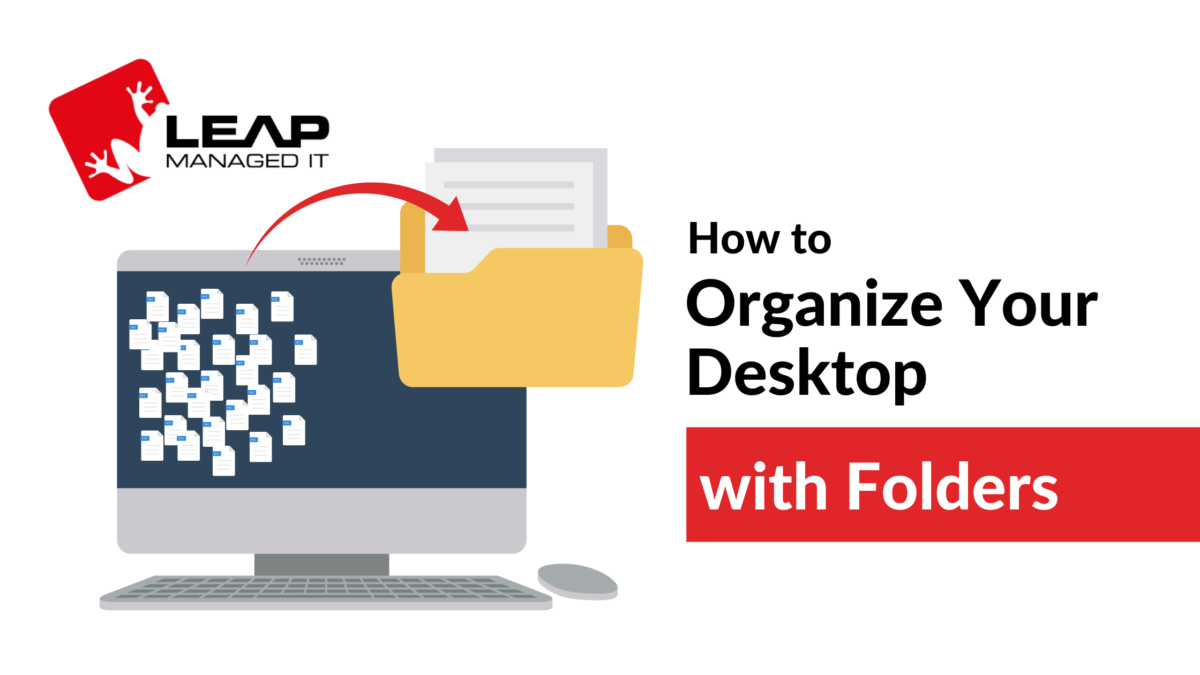
Indianapolis Help Desk Experts at LEAP Managed IT know that being organized in business is the key to success. From schedules to expense reports, organization is what makes or breaks a business. If your business is not properly organized, you can lose valuable time, paperwork, balance and structure. But, this doesn’t just apply to the physical files on your desk. How often, if at all, do you organize your computer desktop?
According to a 2020 poll conducted by Western Digital, the average American hasn’t cleaned or organized their digital desktops in over two years! On top of that, 62% of recipients [out of 2,000 Americans] say their digital desktops are “very cluttered” across all devices.
Indianapolis Help Desk Experts at LEAP Managed IT are here to help! Here are tips to help make your desktop organized. Start with crating desktop folders.
With Windows
CTRL + Shift + N
- Navigate to the locations in which you want to have a folder. This can be on your desktop or to create a subfolder. After you have navigated to where you want the folder to be created, press the keys CTRL, Shift and N on your keyboard. This will immediately create a folder.
- The folder created will default to the name “New Folder.” Immediately after the folder is created, you have the ability to just start typing. Type whatever you want to name your folder. If you mess up or want to rename it, right click the folder and click on “Rename.”
- Right Clicking on Blank Spot on Desktop
For MacOS
Again, our Indianapolis Help Desk experts share a few different methods.
- File Menu – Go to your desktop. At the top navigation bar, it has an a assortment of words. Next to the bolded “Finder” is “File.” Click “File” and click “New Folder.”
- An “Untitled Folder” appears on your desktop on a default location. The name of the folder is highlighted, you can start typing the name in which you would like to name the folder. If you mess up or would like to rename the folder, you can Right-Click (if you have a mouse) or click with two fingers on the trackpad. A menu will appear and click the option “Rename.”
- You can then relocate the folder by simply dragging it around your desktop. If you would like it to be a subfolder, you can open the folder you would like it to be in and drag it into the folder.
- Double Click (or Right-Click)
Another Indianapolis Help Desk Mac Tip:
- Command + Shift + N This is the same concept as the Windows keyboard shortcut.
- Navigate to the locations in which you want to have a folder. This can be on your desktop or to create a subfolder.
- After you have navigated to where you want the folder to be created, press the keys Command, Shift and N on your keyboard. This will immediately create a folder.
- The folder created will default to the name “Untitled Folder.” Immediately after the folder is created, you have the ability to just start typing. Type whatever you want to name your folder. If you mess up or want to rename it, right click the folder and click on “Rename.”
LEAP Managed IT helps Indianapolis, Carmel, Westfield, Greenwood and Zionsville area businesses with their IT solutions. Our goal is to be your Ridiculously Helpful IT advisor. Like us on Facebook for more tips or call our Indianapolis Help Desk!